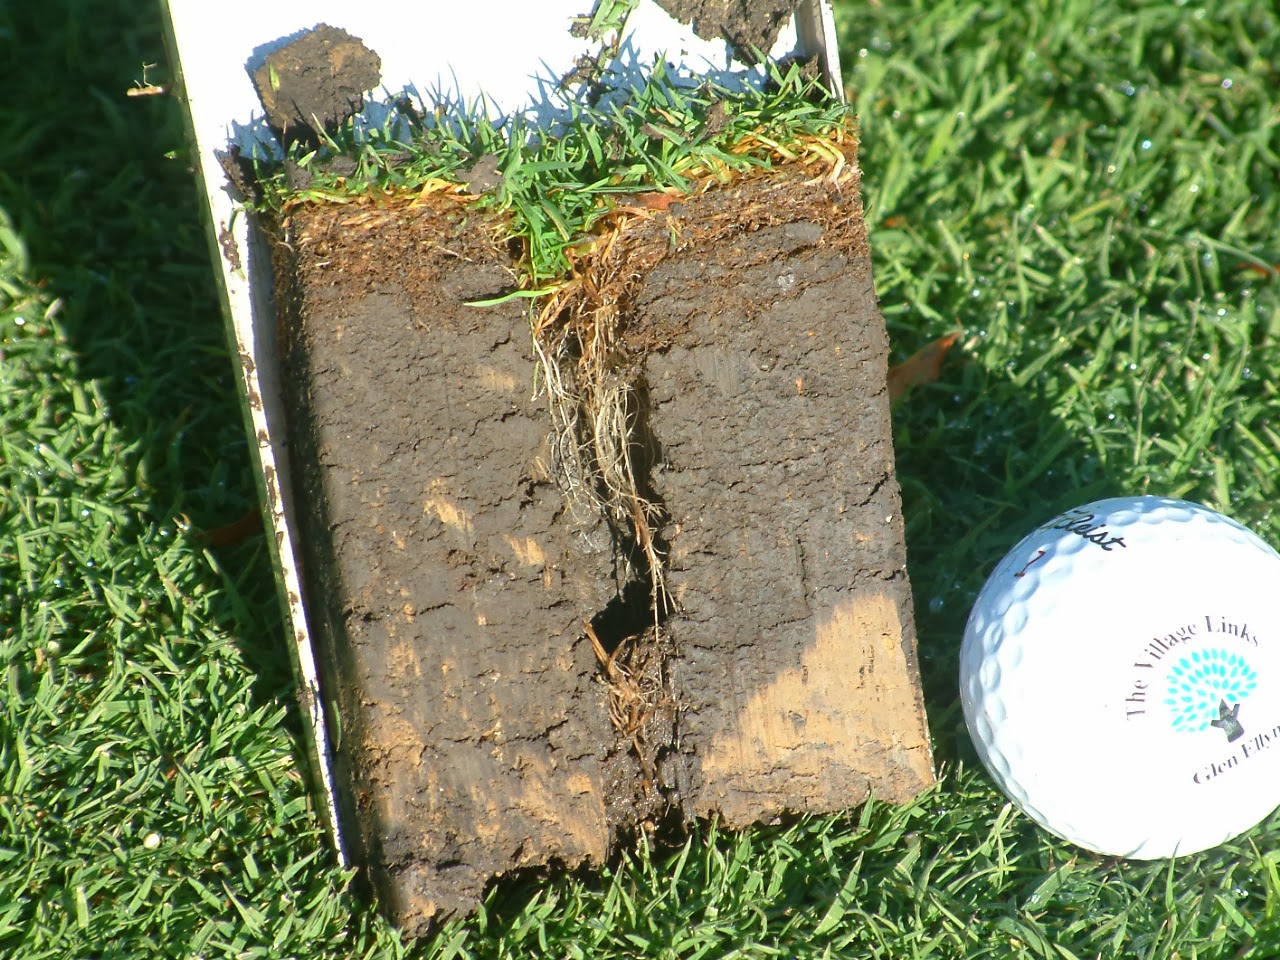
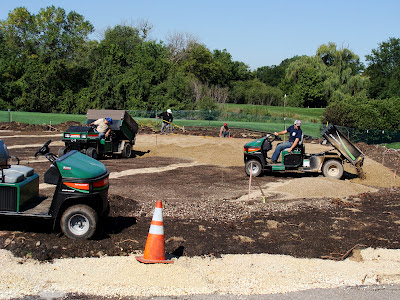
Hey, why are you using sand for the new green?
How are you going to grow any grass?
We recently completed construction on a new practice putting green near the first tee of the 18 hole golf course. The current 18 hole putting green will be removed if our clubhouse master plan is approved. We built the green now so it will be ready to use by late May 2013.
Building a putting green is not that difficult but to have a successful project there are many things to address before you start construction.
Like much of the Village Links, the clubhouse site is
situated in a flood plain. Everything we build is subject to flooding during major rain events. The lowest section of the new green will only be under water for a few hours during a 100 year flood which is not ideal but we know the turf will survive at the elevation we chose.
We wanted the new putting green to have the
same general contours as the current greens on the 18 hole golf course. It is important to our players to be able to practice on a green that is similar to the greens they will find on the golf course. A practice putting green gets much more wear from constant use so we needed to be careful not to have any severe slopes on the green which would not be able to survive during the stress of summer. There are plenty of challenging cup locations to practice your putting. The 9,200 square foot green slopes 2' from the east edge to the west edge. The northwest section has a larger mound to practice those tough side-hill putts.
The putting green is in
a great location. It is closer to the first tee than the present green. It will be much easier to get in a few practice putts even if you are running a few minutes late for your tee time. Much of the new patio and the hospitality room will overlook the green. There is good air circulation at the site and minimal shade from trees, so turf conditions should be great.
Greens Construction
Green construction begins by transferring the Golf Course Architect's design on paper to the future putting green site. The entire area is staked out showing where the existing soils need to be lowered and raised. The sub-base of the green is constructed 16" lower than the final green surface. The base is perfectly parallel to the exact contours of the new green putting surface. The process we use to build our golf greens was developed by The United States Golf Association (USGA) more than 40 years ago. The USGA process insures a long-lasting quality putting green.
The sub-base is graded smooth in preparation for drain tile installation.
A drain tile grid is installed using 4" perforated tile 15' on center.
The drain tile grid is designed to remove rain falling at a rate of several inches per hour. The grid is placed to intercept water flowing across the surface of the sub-base. Tile lines are placed no more than 15' apart and are also located at the green perimeter.
The entire drain tile grid is filled with washed pea gravel.
A 4" deep layer of bridging gravel is spread over the entire sub-base.
The bridging stone is a 4" deep layer of washed pea gravel that is screened to a specific size. The gravel layer allows the greens mix to bridge the pore spaces between the pea gravel so sand will not clog up the drain tiles. Stakes are placed evenly using a 10' grid to insure the gravel is placed in a consistent 4" layer.
Root zone mix is spread over the layer of bridging gravel using light weight equipment.
A 12" deep layer of root zone mix is spread over the drainage system and bridging gravel layer. Care is taken to make sure the gravel layer is not disturbed while installing the root zone material. The 9,200 square foot practice green required 500 tons of root zone mix. The root zone mix is 90% sand mixed with 10% peat moss. The mix is tested by a soils laboratory to make sure it meets the USGA Specifications for particle size distribution and other physical attributes. Sand is the primary component of the root zone mix because it allows water, air and nutrients to move easily through the profile. Ten percent organic matter is added to the sand to help hold water soluble nutrients in the root zone during turf establishment.
A distinct edge is created separating the greens mix from the surrounding topsoil. Once the 2 surfaces are leveled, the construction boards are removed.
Readings are taken to insure the proper surface elevations are
maintained during final grading.
Irrigation sprinklers are installed around the perimeter of the green.
The newly installed irrigation is tied into the existing pipe and wiring.
A well designed and installed irrigation system is key to maintaining good turf conditions. Proper size pipe, wire and sprinkler head spacing provide an even distribution of water for the plants. Since the putting green is located near buildings and other golf course features, we installed sprinklers with an adjustable irrigation pattern to keep the water off the adjacent buildings and restaurant patio.
The future putting surface is fertilized with 1 lb. of nitrogen per 1,000 sq. ft.
Once the seed begins to germinate, the green is fertilized with small amounts of fertilizer every 4 to 7 days. The frequent fertilizer schedule is required to keep nutrients in the sandy root zone mix which is prone to leaching until roots are established. Fertilizing continues for approximately 60 days.
Seed is applied at a rate of1.5 lbs. per 1,000 sq. ft.
The putting green has been seeded to the same A-4 Creeping Bentgrass variety used on our 18 hole greens. The A-4 variety was developed to produce an excellent putting surface that stands up to our heavy play, is resistant to disease and matches the characteristics of our existing greens. The seed begins germination after 3 days.
The green surface is rolled smooth after seeding.
Low-mow bluegrass sod is placed around the perimeter of the green as the finishing touch..
Twenty days after seeding, the green begins filling in nicely.
The first mowing will be in one week.
It takes 160 days of active growing weather for the turf to mature enough to handle daily traffic. We hope to open the green in late May 2013.


